

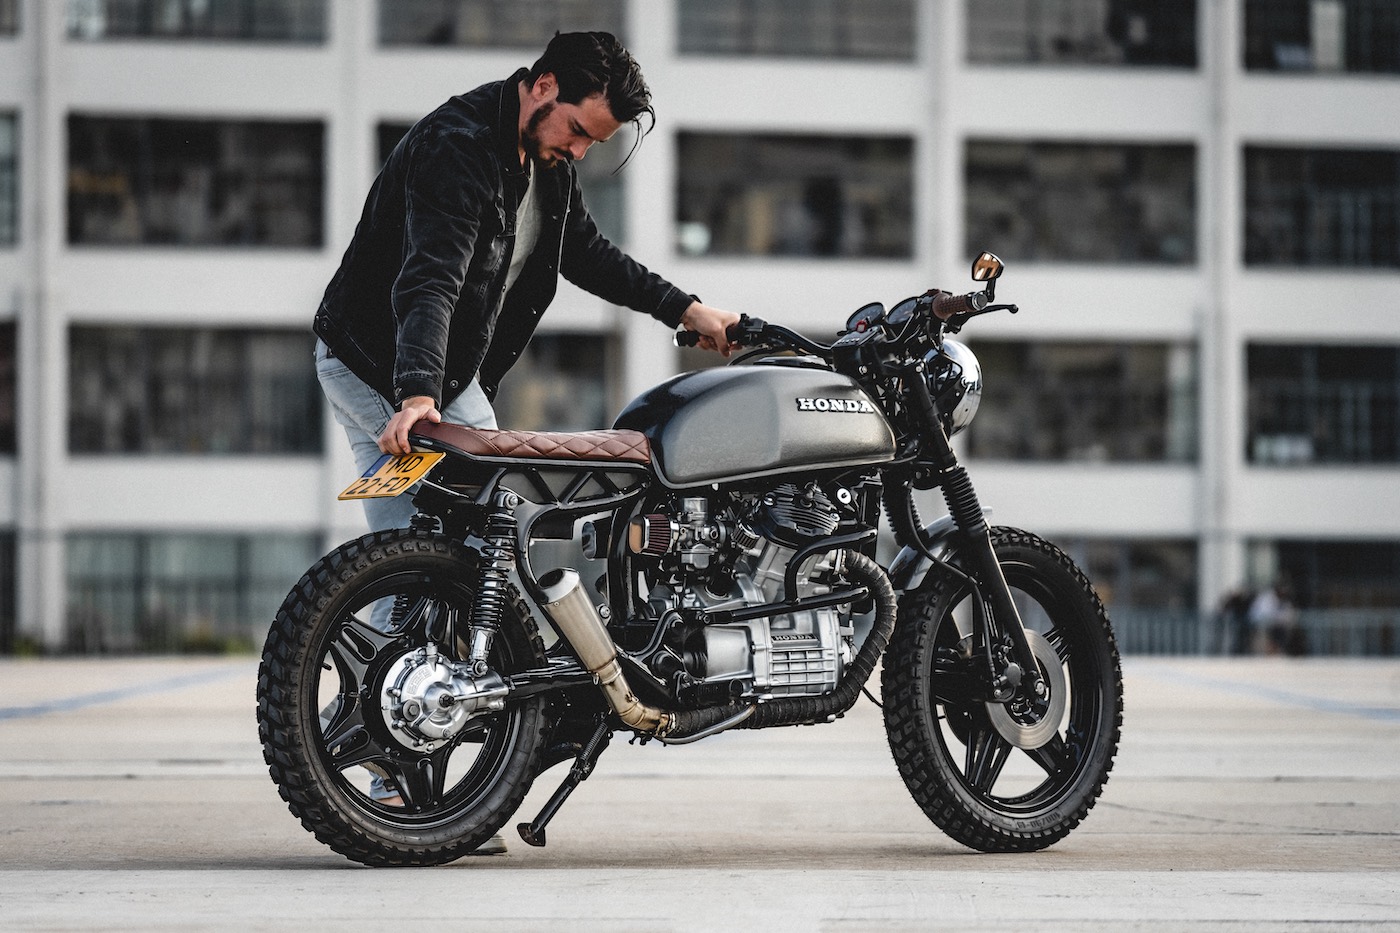
There’s a moment in almost every motorcycle project when the excitement gets ahead of the planning. You’ve got a bike in the garage, a few ideas saved on your phone, and a growing list of parts that would look fantastic once fitted. The temptation is to order everything and start pulling things apart.
That’s usually where the trouble begins.
Building a custom motorcycle doesn’t have to mean stripping it down to the frame. Some of the most satisfying projects start with a handful of carefully chosen changes. The trick is knowing which jobs to tackle first, which ones depend on other modifications, and when it’s smarter to leave something alone.
Start With the Motorcycle You Actually Have
Before buying parts, spend some time looking at your motorcycle as it stands.
What bothers you about it? Maybe the factory indicators look oversized. Perhaps the handlebars don’t feel comfortable, or the rear end looks cluttered. You might simply want cleaner lines without changing how the bike rides.
Write those things down.
It’s easy to get distracted by photographs of heavily modified motorcycles. But a build that looks brilliant online might be uncomfortable on your daily commute or completely impractical for weekend trips.
Your motorcycle’s intended use should guide the project. A machine built for short city rides has different requirements from one expected to cover hundreds of miles on the highway.
Also, take note of its mechanical condition. There’s little sense spending money on cosmetic modifications if the brakes need attention or the suspension is worn out.
Get the basics right before chasing the appearance.
Choose Modifications That Work Together
One common mistake is treating every upgrade as an independent purchase.
You order a new headlight, then discover it doesn’t fit the existing brackets. You replace the handlebars, only to find the original cables are too short. A different seat looks perfect until you realize it clashes with the rear frame arrangement.
These problems aren’t unusual. They’re part of custom motorcycle building, but good planning can reduce them.
Begin With a Clear Visual Direction
You don’t need a professional design drawing. A simple collection of reference photographs can help you decide what belongs on the bike.
Look for consistent details. Are you drawn to low handlebars and compact lighting? Do you prefer a stripped-back appearance with minimal bodywork? Or do you want something closer to a classic road motorcycle?
Pick a direction and stick with it long enough to make meaningful progress.
Mixing ideas isn’t necessarily wrong, but buying parts without considering the overall design can produce a motorcycle that looks unfinished even after you’ve spent a considerable amount of money.
Group Related Jobs Together
Electrical upgrades are a good example.
If you’re planning to change the headlight, indicators, and handlebar switches, consider the wiring requirements of all three before starting.
Many riders explore custom motorcycle build kits when planning related modifications because a coordinated set of components can make purchasing and installation easier to organize.
Still, don’t assume every kit fits every motorcycle. Check the model compatibility, dimensions, electrical specifications, and installation requirements before ordering.
A little measuring now can save an entire weekend later.
Tackle the Smaller Jobs Before Major Fabrication
There’s a good reason experienced builders often recommend starting with manageable modifications.
Smaller jobs help you become familiar with the motorcycle. You’ll learn how its panels are attached, where the wiring runs, and which fasteners have probably been untouched for years.
Replacing a suitable bolt-on accessory might be straightforward. Cutting and welding a frame is an entirely different proposition.
For an early project, consider changes that don’t require permanent alterations to the motorcycle.
Lighting accessories, mirrors, and certain controls may be reasonable starting points, provided they’re compatible and installed correctly.
Frame modifications, brake-system changes, and structural fabrication deserve much greater caution. These jobs can affect handling and safety, and some require professional work or engineering approval.
There’s no prize for doing every job yourself.
Don’t Underestimate Motorcycle Wiring
Ask people who’ve completed a custom build what took longer than expected, and electrical work will often come up.
A motorcycle might have a relatively simple wiring system compared with a car, but modern machines can contain sophisticated electronic controls.
Changing an indicator isn’t always a matter of connecting two wires. Depending on the motorcycle, LED replacements may require compatible flashers, resistors, or electronic configuration.
Incorrect connections can cause blown fuses, malfunctioning lights, or damaged components.
Before touching the wiring, get the correct wiring diagram for your motorcycle. Identify the circuits involved and check the specifications of the replacement parts.
Use proper connectors, protect exposed wiring, and route cables away from sharp edges and hot surfaces.
Most importantly, test each change before putting everything back together.
Finding a wiring problem while the motorcycle is still partly disassembled is much easier than discovering it after you’ve neatly tucked everything away.
Set a Budget That Includes the Unexpected
The cost of a custom motorcycle project rarely stops at the advertised price of the parts.
You’ll probably need mounting hardware, connectors, replacement fasteners, or tools you didn’t initially consider. Sometimes a component needs a different bracket. Occasionally, something breaks during removal.
Set aside a portion of your budget for these surprises.
It’s also sensible to price the complete modification rather than individual components. A cheaper headlight might become expensive once you’ve purchased everything needed to mount and wire it properly.
Don’t forget the value of your time. Spending an entire weekend trying to adapt an unsuitable part isn’t always a bargain.
Check Fitment and Road Legality Before Buying
A part being advertised as universal doesn’t guarantee it will fit your motorcycle without modification.
Measure carefully. Check mounting points, clearances, and cable routing. Make sure the handlebars can turn fully without pulling wires or contacting other components.
Lighting deserves particular attention. Headlights and indicators must meet the applicable road regulations where you ride. Requirements can vary by location, including rules about placement, visibility, and approved equipment.
If you’re unsure about a modification, speak with a qualified motorcycle mechanic or an appropriate vehicle inspection authority before making permanent changes.
It’s much easier to adjust a plan than undo an expensive installation.
Build in Stages and Test Everything
One of the smartest decisions you can make is to divide your project into stages.
Complete one group of modifications, check the installation, and confirm everything works before moving to the next.
For example, finish the lighting upgrades before beginning the rear bodywork. That gives you a chance to identify electrical problems without wondering which of a dozen recent changes caused them.
Keep photographs of the original setup, label disconnected wiring, and store removed fasteners in clearly marked containers.
Once the motorcycle is ready, carry out appropriate stationary checks and have safety-critical work inspected before riding.
There’s something satisfying about seeing a motorcycle gradually become your own. You don’t need to finish everything in a single weekend to enjoy that progress.
A Good Custom Build Starts With Better Decisions
The best motorcycle projects aren’t necessarily the ones with the longest parts lists or the most dramatic modifications.
They’re the ones where the finished machine feels thoughtfully put together, works properly, and suits the person riding it.
Start with a clear idea. Choose compatible parts. Take your time with electrical work, and recognize when a job needs professional help.
Most importantly, don’t rush to change everything at once. A few well-planned upgrades can make a motorcycle feel completely different, and you’ll learn plenty about your machine along the way.

