

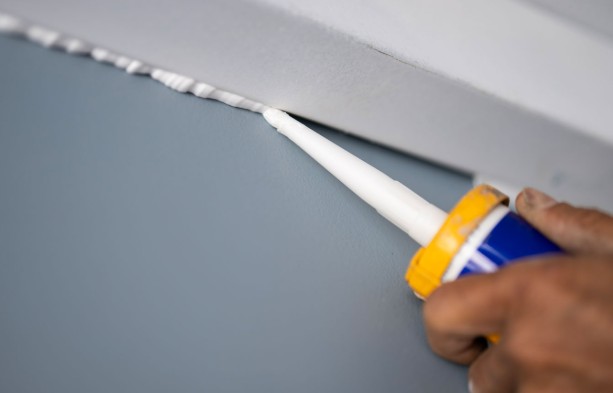
The difference between a sealant job that looks professional and one that looks like a repair is rarely the sealant. It is the edge. A bead with ragged, wandering margins reads as amateur from across the room, and a bead with two sharp parallel lines reads as finished even when the joint is ordinary. The tool that makes the difference costs almost nothing and is usually left in the van: masking tape.
What Tape Is Actually For
Masking tape on a sealant job does two things. It defines the edge, so the sealant stops exactly where the line is drawn. And it protects the adjacent surface, so excess sealant smeared during tooling lands on tape and is lifted away with it, not on the paint, glass, tile or stone beside the joint.
Both jobs matter most on finished surfaces: glazing, polished stone, painted joinery, bathroom tile, anywhere that a smear cannot be wiped off or would be visible afterwards. On rough or unfinished surfaces, tape adds time without much benefit.
Applying Tape Properly
Surface preparation comes first. Tape stuck to dust or damp will lift, and sealant will creep under the edge. Wipe the surface clean and dry, and apply tape in a straight run on each side of the joint, leaving a consistent gap equal to the intended bead width. Press the inner edge down firmly with a fingernail or a tool; a lifted edge is where sealant bleeds under and ruins the line.
On curved or irregular joints, shorter overlapping strips follow the line better than one stretched piece. Stretching tape around a curve means it springs back and lifts.
The Timing Rule
Timing is the step most people get wrong. The tape should come off while the sealant is still workable, shortly after tooling, and always before the sealant has formed a skin. If the tape is left on until the sealant has skinned, peeling it tears the bead edge and leaves a ragged line, which defeats the purpose of masking in the first place.
The window depends on the product. Fast-skinning sealants leave a short window, slower ones a longer one. The sealant’s data sheet gives the skin-over time, and it is worth reading before starting, particularly in hot weather when skinning speeds up.
Removal Technique
Pull the tape slowly and back along itself at a low angle, away from the bead, rather than straight up. Pulling upward drags sealant with it. Work in short runs, so that tape is lifted shortly after tooling instead of all at the end, and discard each strip rather than reusing it, since a tape covered in sealant will smear the next surface.
If a thin ridge of sealant remains at the edge of the bead after removal, it can usually be tooled flat with a damp finger or tool while it is still soft.
Mistakes That Waste the Effort
- Tape applied over damp or dusty surfaces, so it lifts and sealant bleeds under.
- Tape left overnight. Many tapes bond more strongly over time and can lift paint or leave residue.
- Tape that is too narrow for the amount of tooling, so sealant spills beyond it.
- Wrong tape for the surface. Check that the adhesive is suitable for fresh paint, delicate finishes or exterior use.
A Short Routine
Clean the surfaces. Tape both sides to the line. Seal and tool the bead. Remove the tape immediately, pulling slowly back along itself at a low angle. Inspect the edge and touch up while the bead is still soft.
Practical Takeaways
- Tape defines the edge and keeps sealant off finished surfaces
- Apply to clean, dry surfaces and press the inner edge down firmly
- Remove the tape before the sealant skins over
- Pull slowly, back along itself, away from the bead
- Do not leave tape on overnight, and test on delicate or freshly painted finishes first
Where to Start
For finished surfaces, keeping a roll of masking tape for sealant lines in the tool bag is the cheapest quality control available. First Sealant Technology lists a general-purpose masking tape for use alongside construction materials, suitable for office and industrial work.
For advice on tape choice for a specific surface or finish, their team can be reached at 096-818-9168, 097-959-5111, or 097-959-1222, Monday through Saturday, 08:30-17:30.

